
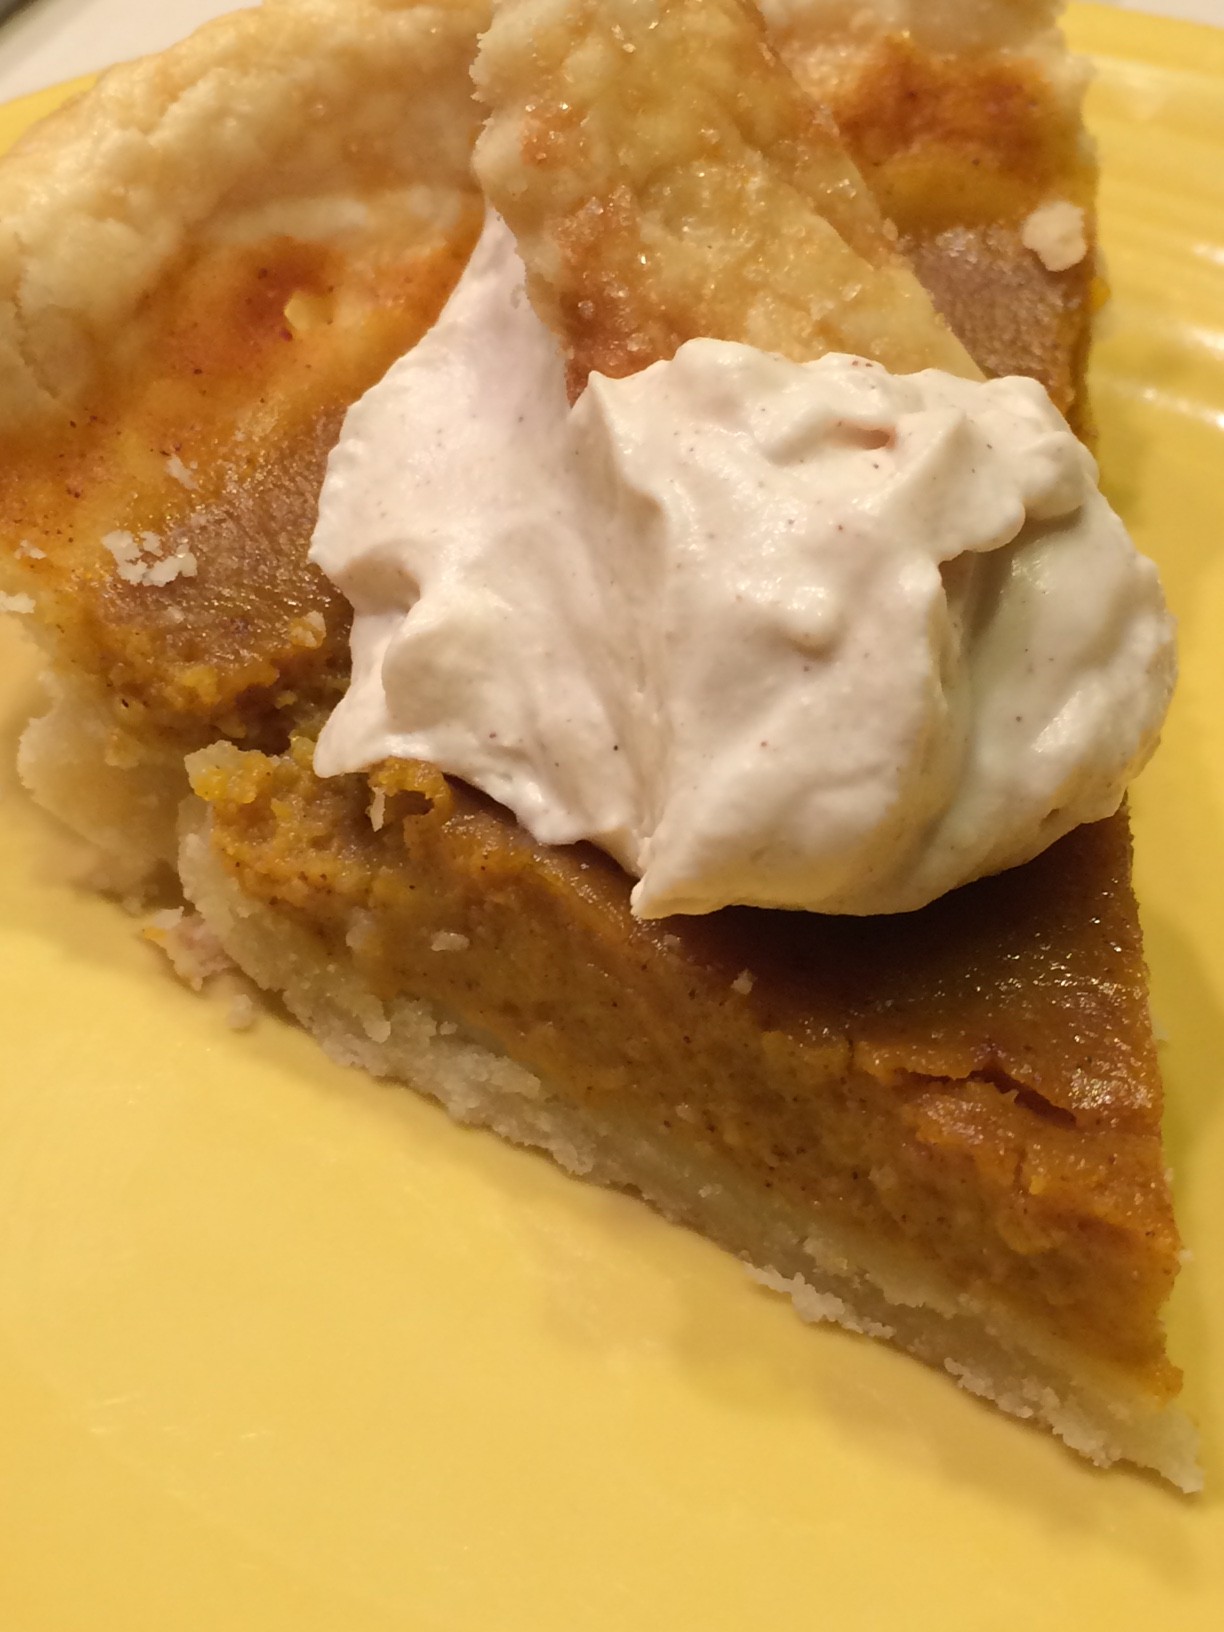
Originally posted November 3, 2014
If you have had any trouble making a dairy-free crust, I’m here to help. The explanations below are lengthy but I explain what to do and not do when making a gluten-free AND dairy-free pie crust. If you need a recipe for a dairy-free pumpkin pie, here it is.
This might sound a bit funny but if you have to eat gluten-free these days, the options are really pretty good. They are certainly much better than when I started in 2007. A few years ago, I felt I had really nailed a recipe for a gluten-free pie crust. It was flakey and tasty. Then we switched to dairy-free and it became more challenging. The crust was tasty but crumbled often so I had to do a lot of repairing. This is my own pie crust recipe.
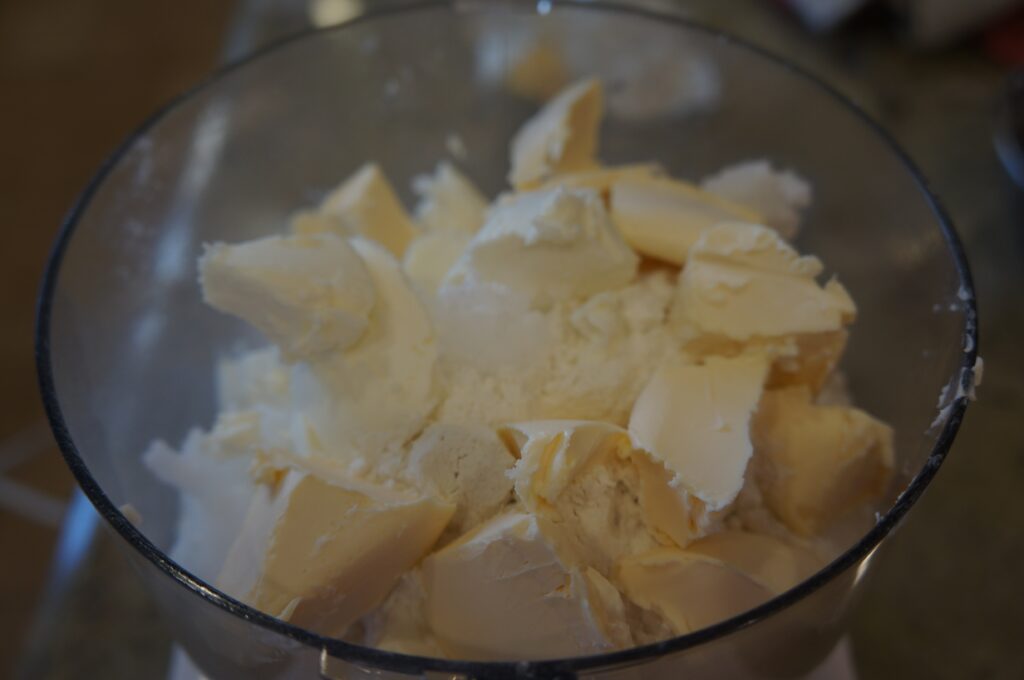
Pie Crust Tips and Tricks
Let’s talk about measuring shortening for a minute. It’s a messy thing. This recipe calls for 8 tablespoons total of shortening. If you convert 8 tablespoons to ounces, it equals 4 ounces. I learned that, because of the water content of butter, a measure say of a ½ cup of shortening does not weigh 4 ounces like its butter equivalent. Get the equivalents here about how much shortening weighs. I rely on my scale and find it much easier/less messy to weigh the shortening.
If you want to buy a reasonably priced scale and some of my favorite baking basics, check out this list. Note: I am an amazon associate and receive a teeny tiny portion of that sale at no cost to you!
Once the fat is measured, place it in the freezer to get extra cold for about 5 to 10 minutes. My shortening is always at room temperature. Alternatively, you can measure and then put in the fridge the night before.
One more thing; make sure the pieces of the butter substitute and/or shortening are cut into smaller pieces before it goes into the freezer. This really helps with distributing the fat into the flour. If you don’t do this step, the fat may not properly incorporate.
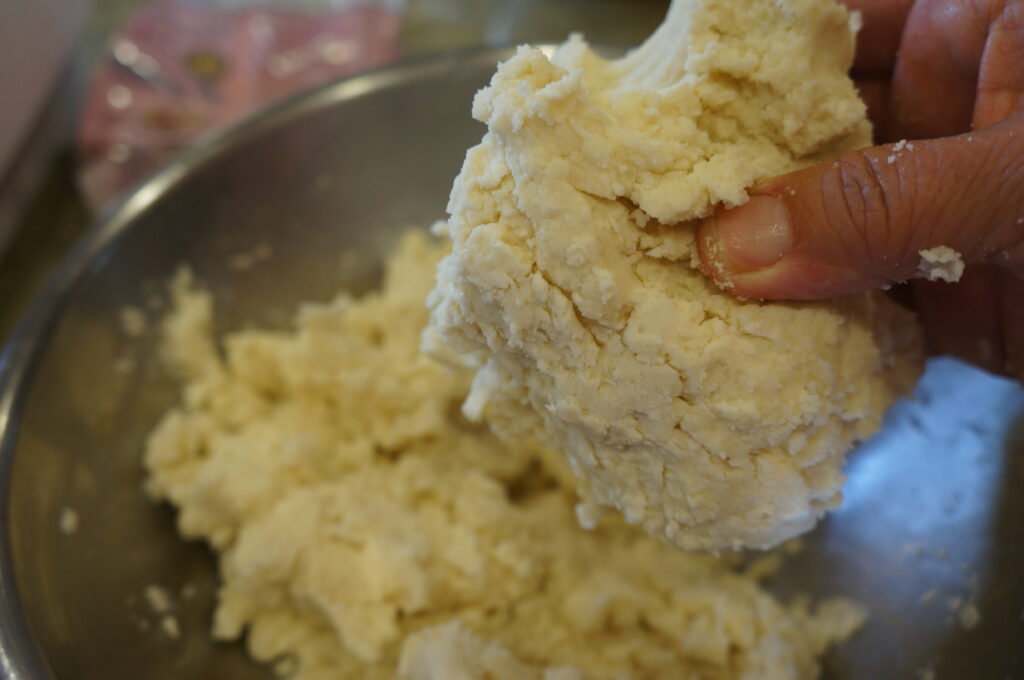
Once you have made the dough, if there is not enough water, it will fall apart when you are rolling it. Add more water with your hands before forming into a disc. If not, it’s much harder to fix later. Make sure there are no cracks in the dough. If there are, add more water a teaspoon at a time. When you make this recipe more than once or twice, it will become easier.
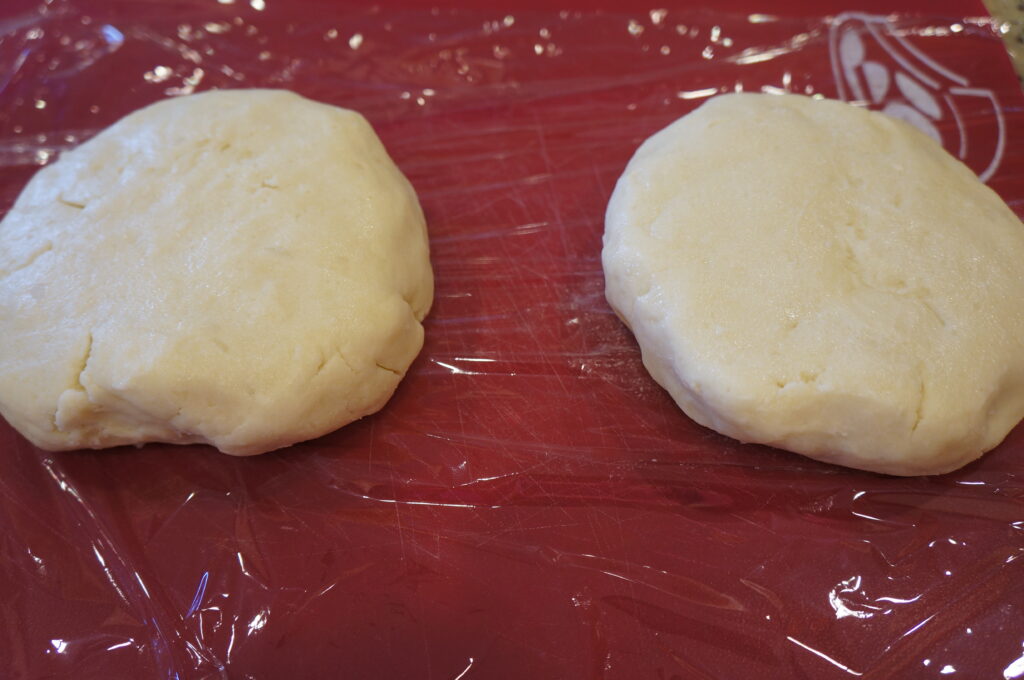
Keep the wrapped discs in the fridge for about 30 minutes. You might be able to keep it for longer but the consistency of the dough might dry out after 2 hours or more.
While the discs are in the fridge, you can prepare the pie filling ingredients. Get out a rolling pin, more plastic wrap for rolling, and pie pans. Make the egg wash. Preheat the oven about 20 to 25 minutes before you are ready to bake to make sure the oven is nice and hot.
This recipe makes enough for 1 deep dish pie or 2 generous pie crusts; either a top and bottom or two bottoms. I almost always have leftover crust. If you make one pie in a deep dish, you may not need all of the pie crust. If you make two pies, you may not have enough filling. Alternatively, you could make 1.5x the filling and have two well-filled 8″ pies.
Read through the instructions and get ready to roll!
Gluten-free Dairy-free Pie Crust
Yield: one 9″ deep dish pie or two 8″ regular pies
- 4 tablespoons (50 – 52 gm) butter substitute cut into ½″ cubes
- 4 tablespoons (50 – 52 gm) vegetable shortening, cut into small pieces Note: you can use all butter substitute or all shortening
- 1 and ¾ cups Amy’s Gluten-Free Flour Blend, plus extra if necessary
- ¾ teaspoon xanthan gum
- ½ teaspoon sea or kosher salt
- 1 large egg, lightly beaten
- 2 teaspoons white or apple cider vinegar
- 1 – 2 tablespoons ice water
- Potato starch or Amy’s Gluten- Free Flour Blend for rolling (or a flour without gum)
- Make sure butter substitute and shortening are very cold. See tips above.
- Place the dry ingredients (flour, salt, and gum) in the food processor and process for 5 seconds. Place the cold fat (but not totally frozen) into the food processor, making sure there are no big pieces. Pulse 10 times. If you see big pieces of the fat, continue to pulse. Once the shortening and flour are combined, it should look like grated parmesan cheese
- Add the egg and vinegar to the processor and pulse a few times. Add 1 tablespoon only of the cold water. Turn on processor. Add more water, a teaspoon at a time until it’s mostly together. Take out and transfer to a bowl.
- Using your hands, feel the dough to make sure it is holding together and not too wet. Adjust with either more water or flour.
- Divide the dough into two pieces and shape each into a round disc. Note: if you are making 1 pie in a deeper pan, divide the dough into two; a 2/3 and 1/3 disc. You can save the smaller piece for another use.
- Wrap the discs in plastic and place in the fridge for at least 30 minutes (see photos below). While the crust is chilling, prepare the filling ingredients.
- When you are ready to make the pie, take the discs out of the refrigerator for about 5 minutes before rolling.
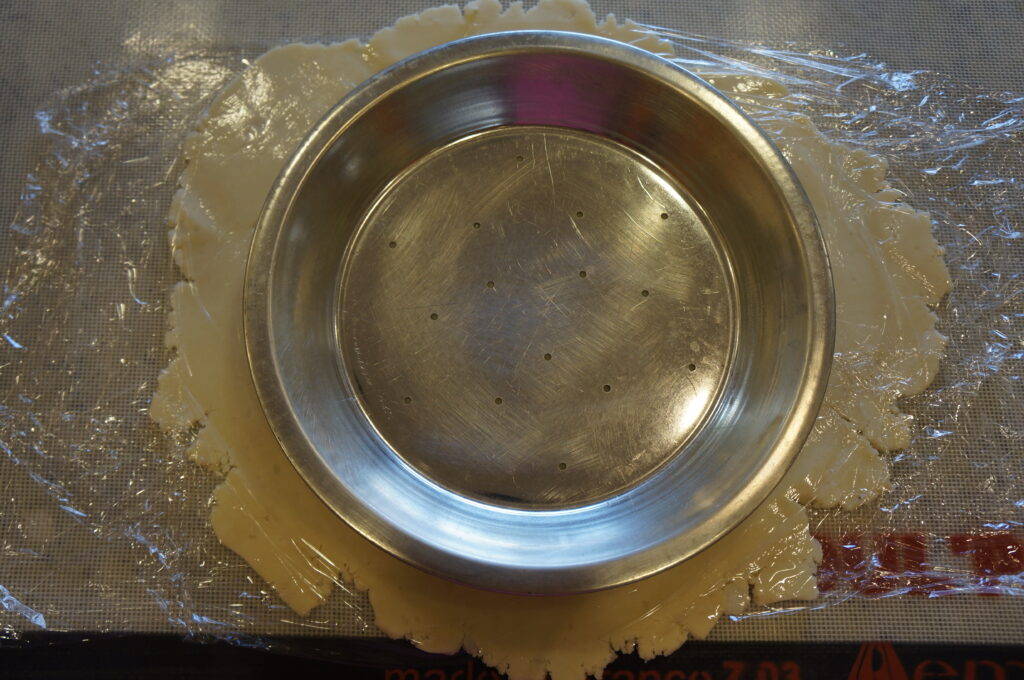
- Roll one of the discs of the dough between two pieces of plastic or parchment paper. Place the pie pan on top of the plastic to estimate how much more the dough should be rolled. I usually estimate there to be 2 inches more than the edge all around.
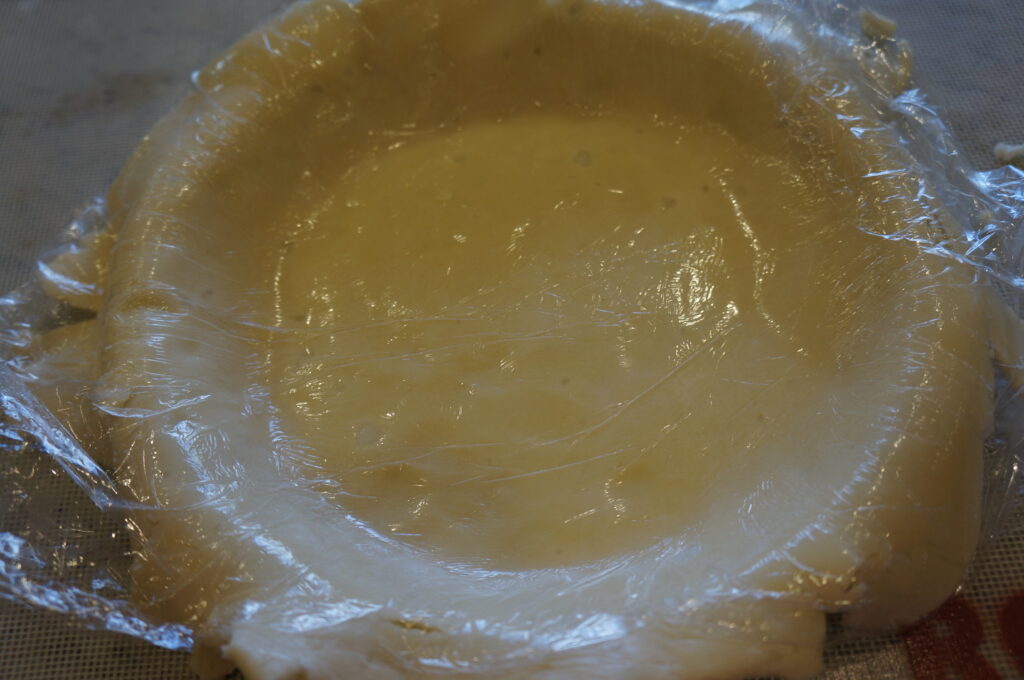
- Once the crust is rolled out, remove only one of the pieces of plastic or parchment. Carefully flip the crust into the pie pan and press into the pan. Remove excess dough and make a decorative crust on top with either your fingers or a fork. If the crust breaks, add small amounts of water to seal/fix. Repeat with second crust if making two pies; otherwise save for another use.
- Place pan in the refrigerator for 30 minutes.
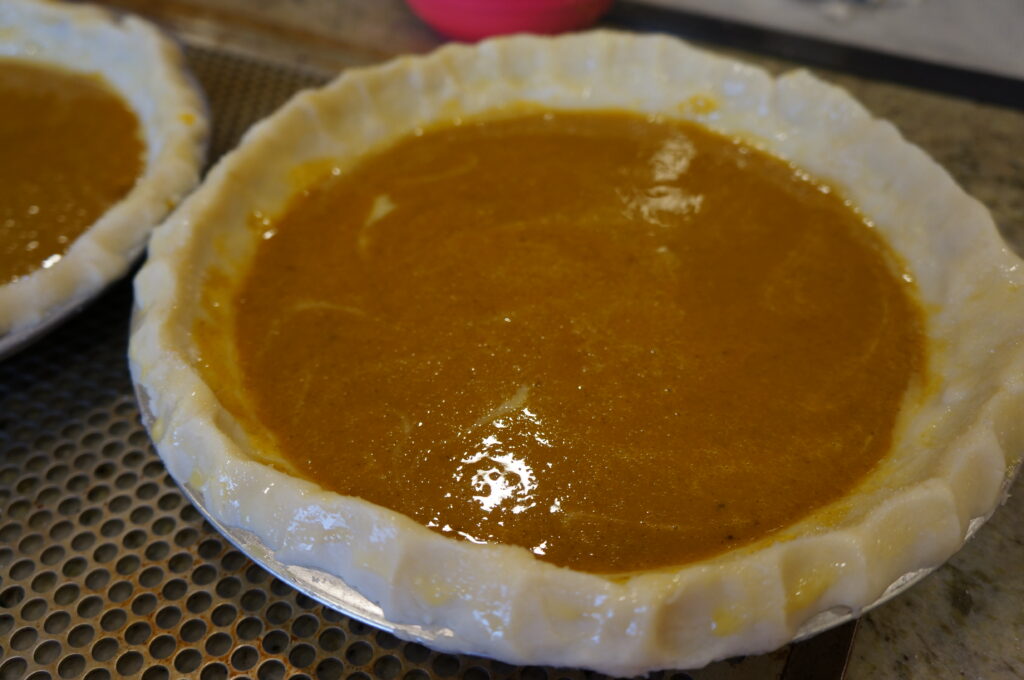
- Remove crust from the refrigerator, brush the edges with egg wash, and add filling. Follow directions for the pie.
Tips on How to Roll the Dough
Once the dough is mixed in the processor, move to a bowl. Press the dough to make a disc and determine if you need extra water or flour. Form into two discs. Wrap in plastic and place in the fridge. Remove from fridge and wait 5 to 10 minutes. Roll out between two pieces of plastic or parchment; this prevents sticking on the counter. Use the pie pan to estimate how big to roll out. Remove one piece of plastic or parchment. Flip pie crust into the pan and press. Cut excess dough, leaving some to make edges. Place crust back in the fridge for 30 minutes before adding the filling.
Leave a Reply