
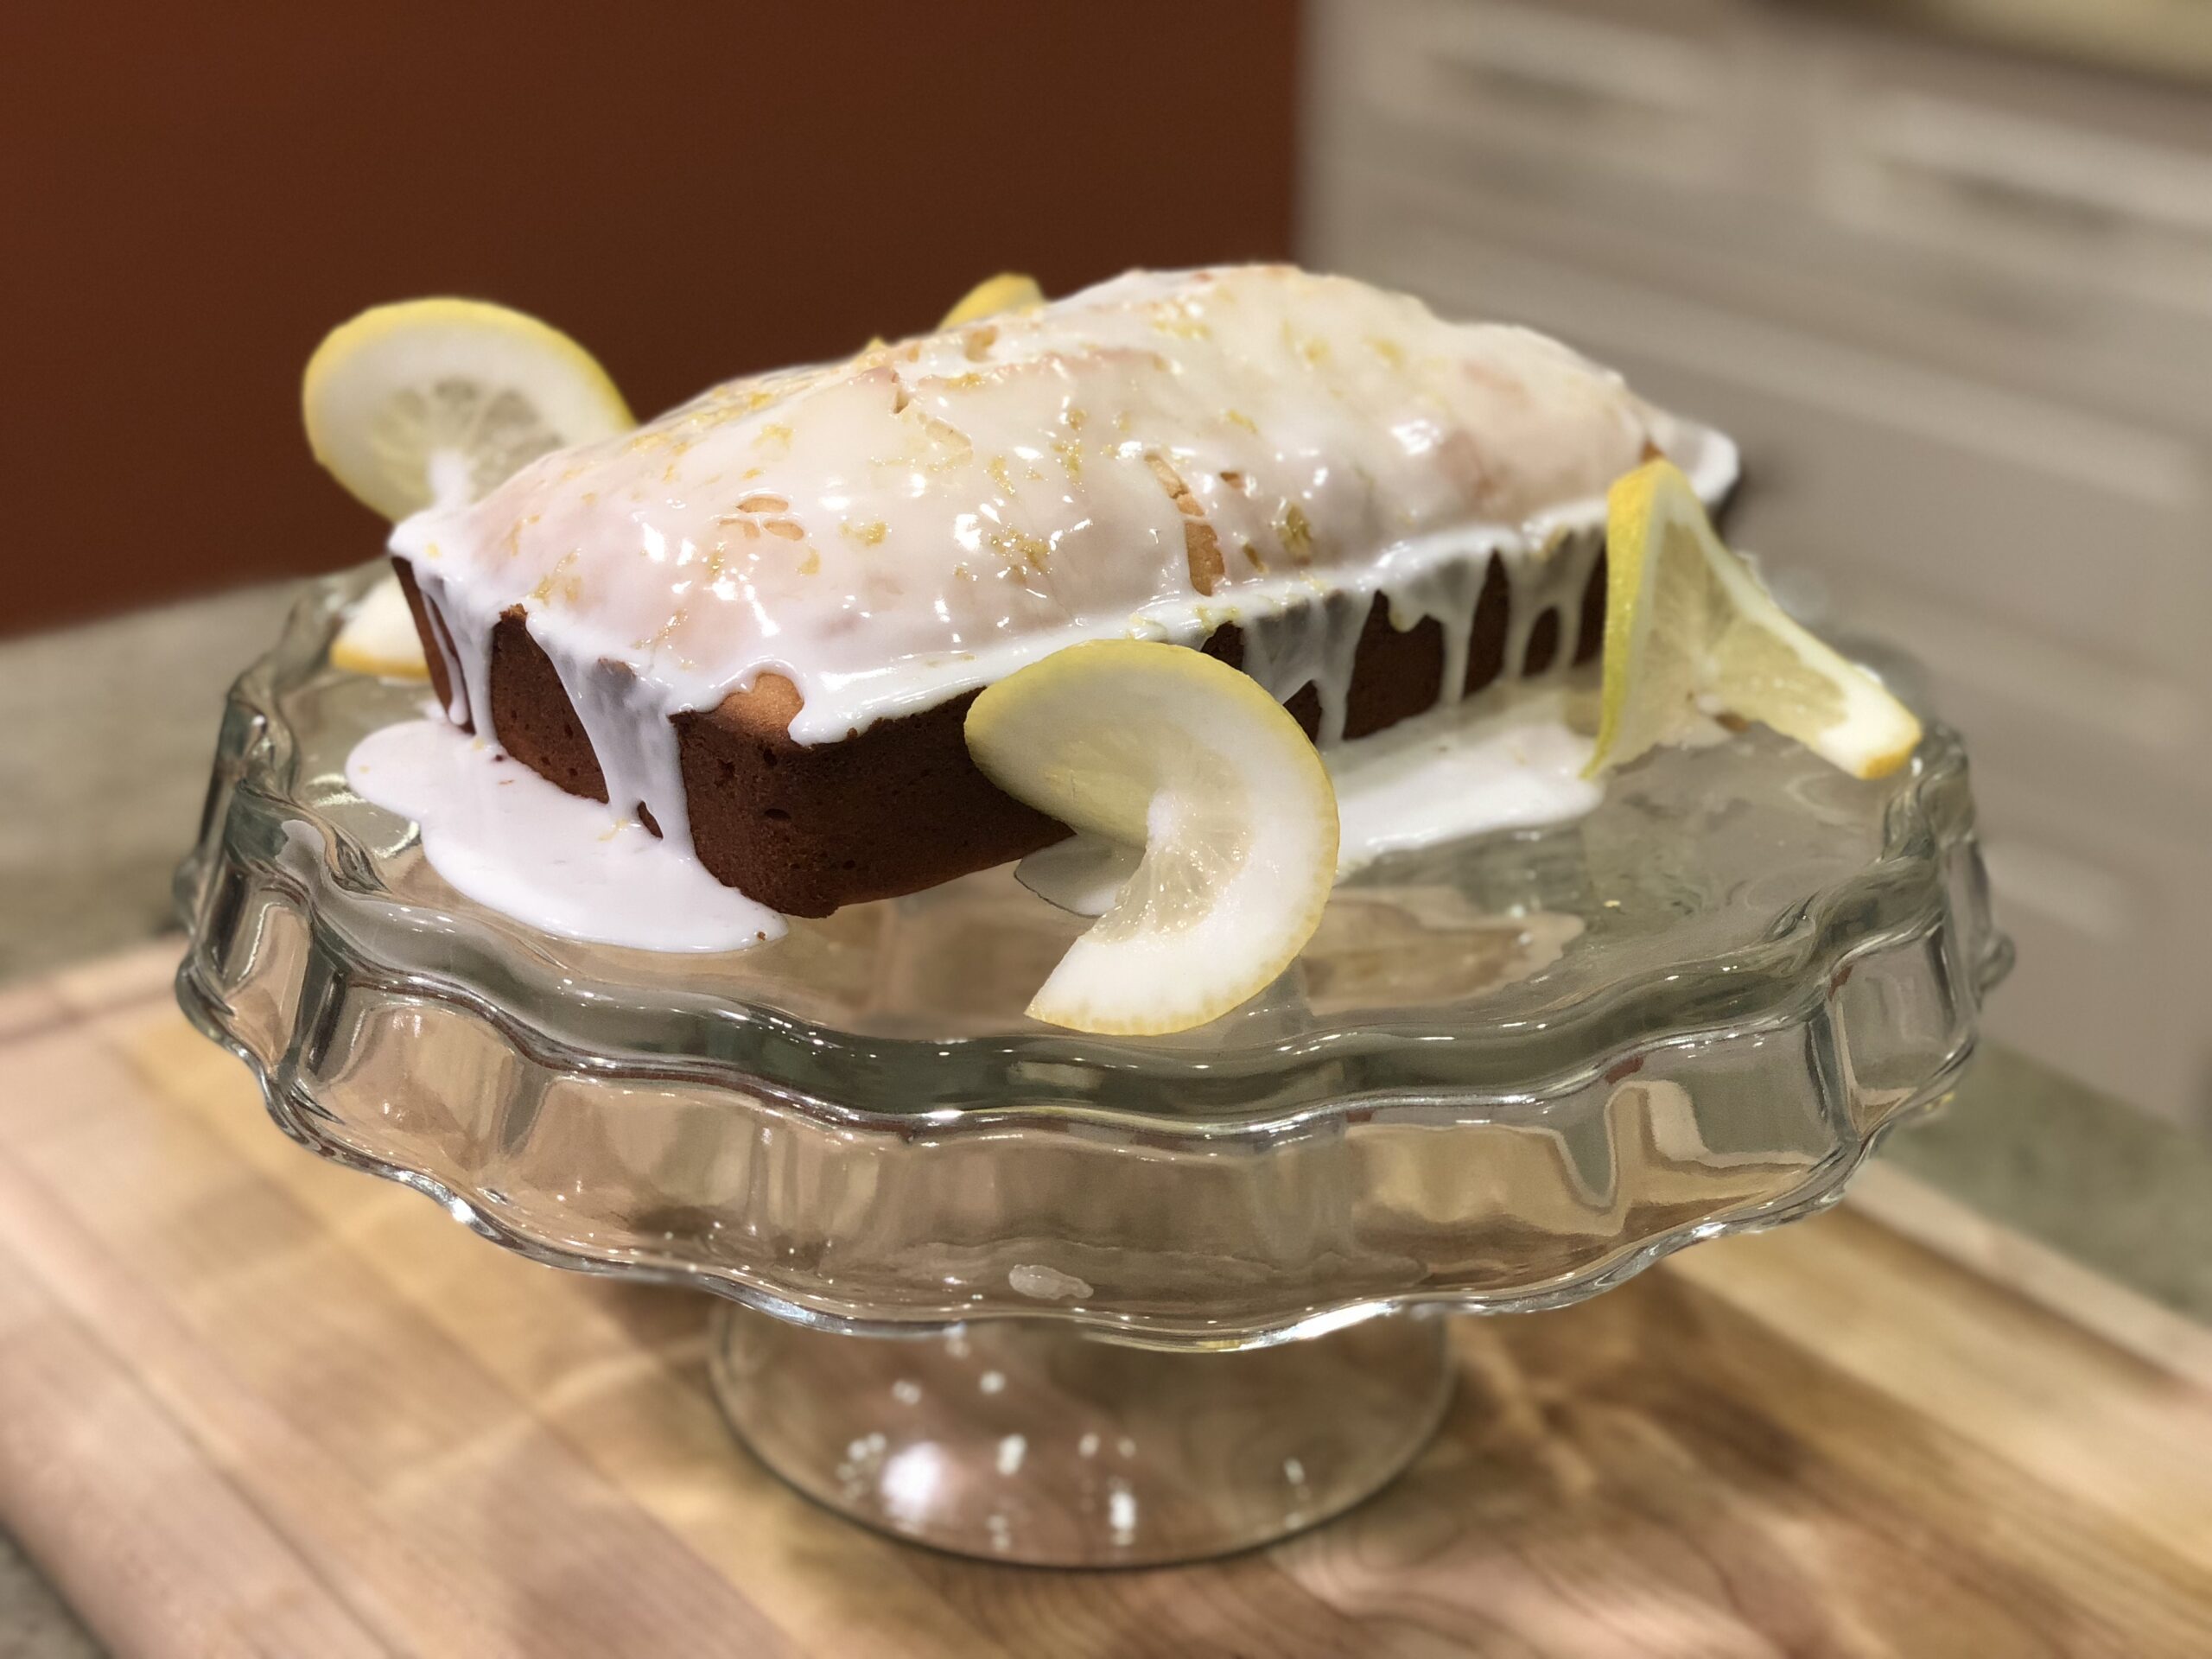
Originally posted August 6, 2015
When a friend posted a picture of a copycat Starbucks lemon loaf recipe on Facebook, I thought, I bet I could make this gluten-free AND dairy-free. I have a faint memory of the taste from many years ago when I used to eat gluten. And I remember liking it. Three days after seeing the post, I decided to create a gluten-free dairy-free lemon loaf recipe. It was so good that the family has requested I make this once a week! Let’s start with how to do conversions.
How to Make Gluten and Dairy Subsitutions
Generally, when I try to convert something to gluten-free, I start with my flour blend. This is the flour blend I have used for many years. It does not include any gum so I add gum based on the recipe to make sure it is calibrated appropriately; more for bread and pizza and less for quickbreads. For cakes and muffins, add ½ teaspoon or so for every 2 cups of flour.
For dairy-free, I often use soy-free Earth Balance or an organic shortening for the butter. I do like using coconut oil for this recipe as it adds a nice richness. Did you know that refined coconut oil does not have a coconut flavor? Virgin coconut oil has more of that traditional flavor that not everyone likes.
You can use most any milk substitute for regular milk. However, I prefer almond milk; it is a little thicker than most substitutes and has a neutral flavor. For this recipe, you only need milk in the glaze. You can read about how to make dairy substitutions in this post.
So, if you have a regular recipe for almost anything except pastries, bread, or pizza, I encourage you to try to make it gluten-free with simple substitutions. You might just find it’s even better than the original!
Gluten-Free Baking Tips
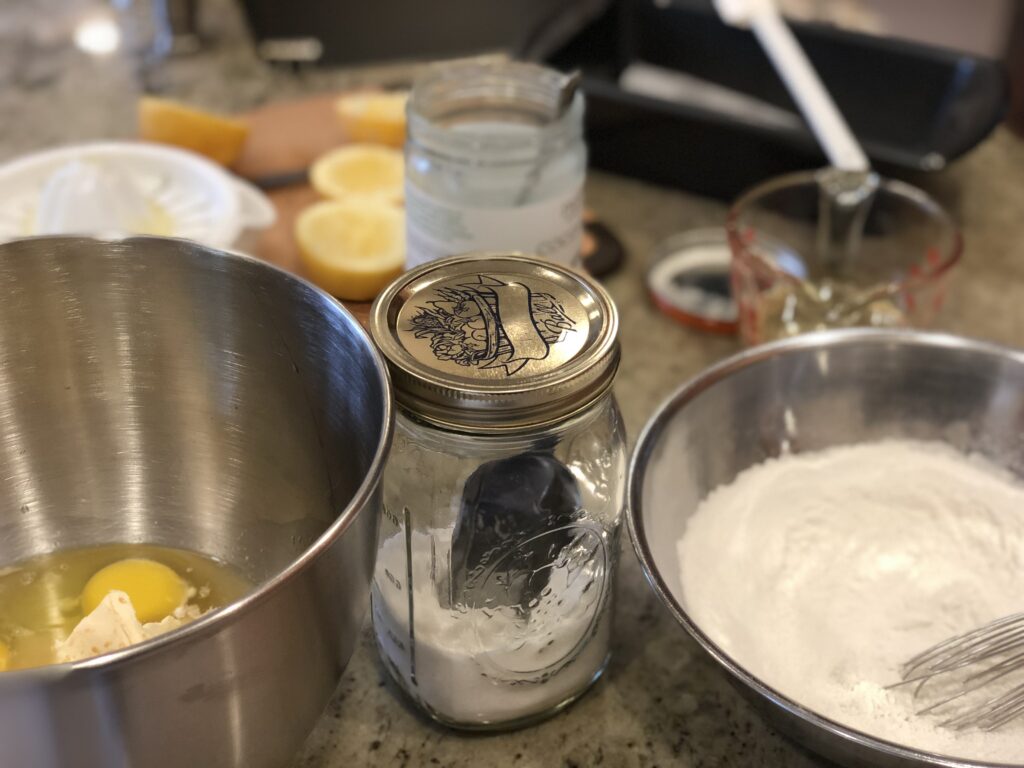
Have you heard of the term “mise en place”? For anyone who has gone to cooking school or worked in a kitchen you have probably learned about the importance of prep or having “everything in its place”. Once all of your ingredients are out and then measured, this recipe comes together quickly.
Did you know that gluten-free baked goods don’t have the shelf life of their gluten counterparts. You can add 1/8 of a teaspoon of dried ginger to the dry ingredients or put the baked good in the fridge after a day. For some items, like this gluten-free dairy-free lemon loaf, it won’t make a difference since it’s usually gobbled up within 2 days!
For this loaf, I liked the texture better after it was refrigerated. I made the loaf at night, cooled it, then placed it in the fridge. I added the icing/glaze the next day. It was worth the wait. Keep that in mind when you are planning your baking. With some gluten-free baked goods, it’s better after it is completely cool (but so hard to be patient!).
Okay, get in the kitchen and start baking! Enjoy.
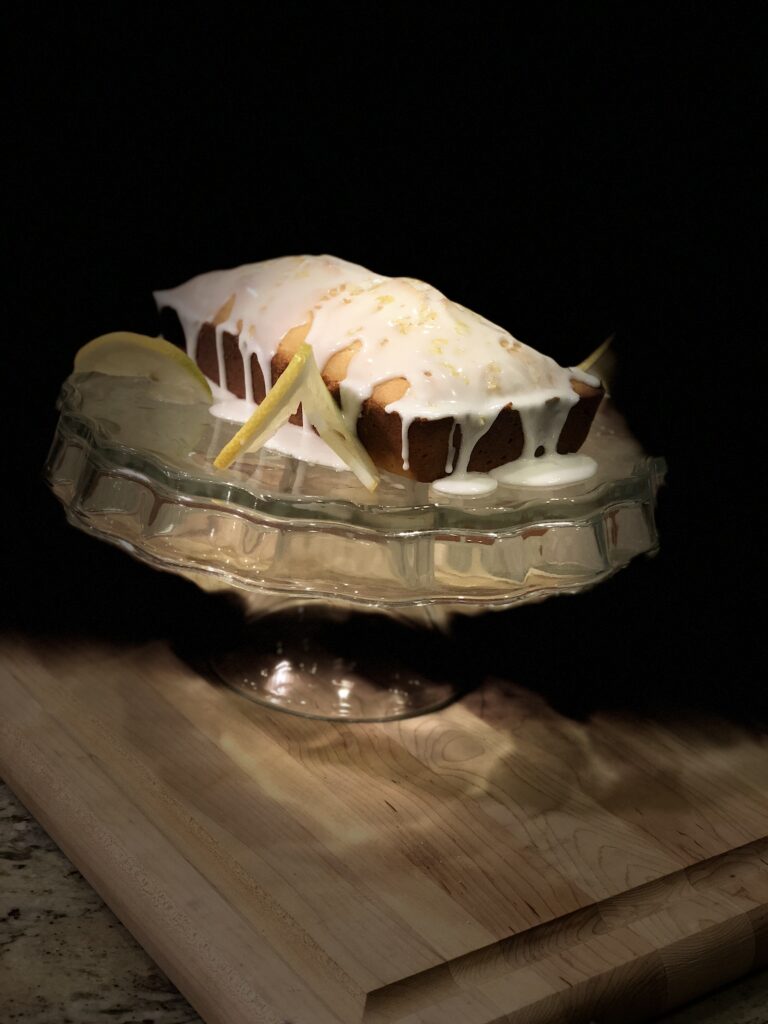
Gluten-Free Dairy-Free Lemon Loaf
Yield: 1 loaf or about 10 slices
- 1 ½ cups Amy’s Gluten-Free flour blend or a rice-tapioca-potato starch based blend
- ½ teaspoon baking soda
- ½ teaspoon baking powder
- ½ teaspoon fine sea or kosher salt
- Scant ½ teaspoon xanthan gum or ¾ teaspoon guar gum (omit if you use a flour blend with gum)
- 3 large eggs, at room temperature
- 1 cup white sugar
- 1/3 cup fresh lemon juice (juice from about 2 lemons)
- 2 tablespoons soy-free Earth Balance spread or vegetable shortening, softened
- 1 teaspoon vanilla extract
- 1 – 1 ½ teaspoons lemon extract (add more if you LOVE lemon flavor!)
- ½ cup vegetable oil (I used melted, refined coconut oil; this doesn’t have a coconut flavor)
Icing:
- 1 cup powdered sugar, sifted (if you don’t sift, stir really well)
- 2 – 4 teaspoons warm milk substitute (I used almond milk and microwaved it first)
- ½ – 1 teaspoon lemon extract or fresh lemon juice
- 1 lemon for garnish (use ½ of it for slices and ½ for the zest)
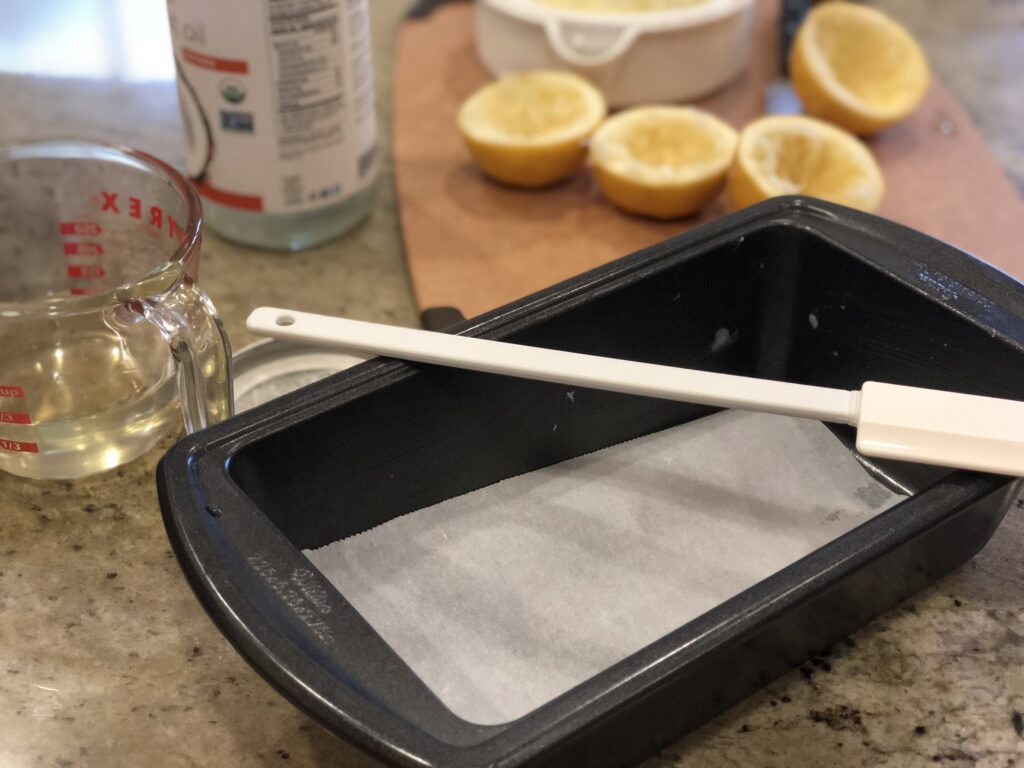
- Preheat oven to 350°F. Grease a 9” x 5” loaf pan. To make it even easier to remove, line the bottom with parchment paper.
- Combine gluten-free flour, baking soda, baking powder, salt, and gum, if using, in a small or medium bowl. Set aside.
- In a large bowl, place eggs, sugar, lemon juice, butter substitute, vanilla, and lemon extract (you will add the oil later). With an electric mixer, beat these ingredients until well blended, about 2 minutes.
- Add dry ingredients to the wet mixture and blend until smooth, about 1 minute. Blend on high for 10 seconds. Add vegetable oil and mix until well blended.
- Pour batter into prepared pan. Bake for 40 to 45 minutes (start testing at 40 minutes) or until the loaf starts to pull away from the pan, and the loaf springs back when pressed with your finger. If it stays indented, cook a few minutes longer.
- When the cake is done, remove from the oven and place the pan on a wire rack for at least 10 minutes.
- With a rubber spatula or plastic knife that won’t scrape, run the sides of the loaf to loosen the loaf from the pan. Carefully invert the loaf onto a plate first and then invert onto the wire rack. If it does not come out the first time, loosen again with the spatula. Otherwise, the loaf might break. Allow to cool fully (about an hour) then place in the fridge for at least another hour. This helps the icing to stick better to the loaf. Otherwise it will slide off of a warm loaf.
Making the Icing
- Make the icing by combining the sifted sugar, 1 tablespoon of the warm milk substitute, and the extract in a small bowl. Add more milk if necessary. The consistency of the glaze should be thin enough to pour but not watery, similar to white glue. Whisk until it is smooth. Pour this over the cooled loaf. If the glaze is very thick, you can microwave/heat for 8 to 10 seconds.
- You can also garnish the loaf by cutting 3 to 4 very thin slices of a fresh lemon. With the remaining lemon and using a microplane, zest the lemon over the top. Place back into the fridge for about 15 minutes or until it sets.
- Cut, serve, and eat! We couldn’t wait another minute; it was so good!
Leave a Reply