
Originally posted January 6, 2021
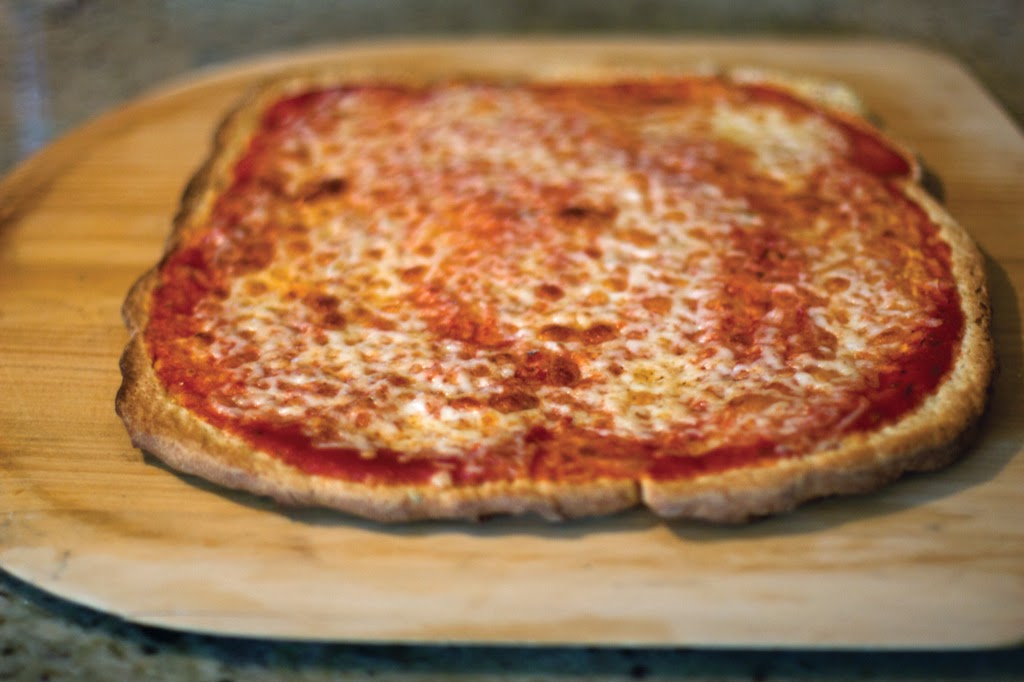
There are two things that are necessary for really good gluten-free pizza crust; par-baking the crust and a hot oven. I proved it by serving this pizza to a group of 6 and 7 year old (non gluten-free) boys at my son’s 7th birthday party. I knew it was a success when their plates were empty.
The recipe might seem long, but I put in a lot of details. Make it a few times, and it won’t seem hard at all. This recipe makes a fluffy, soft crust. If you like a thinner crust, divide the dough into two crusts rather than one. I have made it successfully by using only 2 ½ cups of my flour blend without the other flours or starch (see Note).
Gluten-Free Pizza Crust Recipe
Soft pizza crust recipe
Yield: 1 or 2—12 inch pizzas, depending on the thickness of the crust
Notes: You can use 2½ cups of Amy’s Gluten Free Flour and omit the white rice flour, cornstarch, and sorghum four. The various flours are used to make the dough more white and less yellow. If you use the millet flour in the flour blend, it will give the dough a yellow color and might be a bit drier.
If you use regular yeast (not quick/rapid), use warm water (105°F – 115°F). Let dough rise for 45 minutes in step 8.
- Place 1 or 2 pizza stones in the oven depending upon how many pizzas you are making. Or you can use 1 stone and bake them one at a time. If you don’t have a pizza stone, place parchment paper on a baking sheet.
- The dough will need to rise. It’s best to do that in a warm environment. You can heat the oven to 200°F to get the stone and oven warm and then turn the oven off after 5 minutes. Optionally, if your oven has a proof mode, around 80℉ to 90℉, you could do that or just turn on the oven light.
- Mix the eggs, olive oil, honey, and vinegar in a small bowl and set aside.
- Add the dry ingredients to a bowl of a stand mixer fitted with the paddle (not the dough hook). Using a whisk, mix the dry ingredients. You can also mix on low with the paddle attachment.
- Once you have all of your ingredients ready, turn the stand mixer on and add the egg and liquid mixture to the dry ingredients and mix for 10 seconds. Add the water. Raise the speed to medium and mix for 2 to 3 minutes. The dough will be sticky/tacky and will spread to the side of the bowl. It will look more like cake batter.
- Cut a piece of parchment paper slightly smaller than the pizza stone or about 14″ wide if you are using a tray. Place the parchment on a pizza peel or back of a baking tray, and lightly brush the paper with olive oil.
- With a greased spatula or scooper, transfer half of the pizza dough onto the middle of the paper. Either do this with two papers or one at a time.
- With greased hands, gently pat the pizza dough into a 12″ to 13″ circle (or to the size of your pizza stone). If the dough is very sticky, add a little gluten-free flour blend on top to make it easier to handle. Once spread, make a crust or raised edge on the pizza by folding the edges over slightly toward the center. Using a fork, prick the dough but not on the edges/crust. This helps prevent the crust from having big bubbles when it par bakes.
- Slide the dough with the parchment paper onto the stone in the oven to rise (the dough stays on the parchment paper until it is par-cooked). If you aren’t using a stone, keep the dough on the baking sheet. Leave for 15 to 20 minutes to rise and then remove from oven by sliding the dough back onto the peel or by removing the tray. Keep the stone in the oven.
- Heat the oven to 450°F for at least 20 minutes; the longer the better. Slide crust onto the stone and bake for 5 to 7 minutes or until crust is just starting to get light brown on the edges; it’s fine if it is longer. If you don’t have a stone, keep the crust on a baking sheet.
- Remove the crust from the oven and cool briefly. Remove parchment paper.
- Add sauce and toppings. Place crust back on the stone or on a baking tray. Cook for about 7 minutes or until the crust is brown and the cheese is melted.
- Cool 3 to 5 minutes. Use a pizza cutter or kitchen scissors to cut into pieces.
Leave a Reply